

How to attach a label to the product with SHOPIFY? Introducing recommended apps! [SHOPIFY]
皆さんのShopifyのサイトには商品に以下のようなラベルはついているでしょうか?

「SALE」や「NEW」などのラベルをTOPページや商品一覧ページに表示できると、より商品詳細ページまで辿り着いてもらいやすくなるでしょう。
ただ、実装方法についてはご存知ない方も多いのではないでしょうか。
今回はラベルアプリのご紹介をしていきます!
サイトにこの機能を実装したい方はぜひ参考にしてみてください!
Recommended app
There are several apps that make the product label, but in this article
「Fordeer -Product Badges & Labels"recommend!
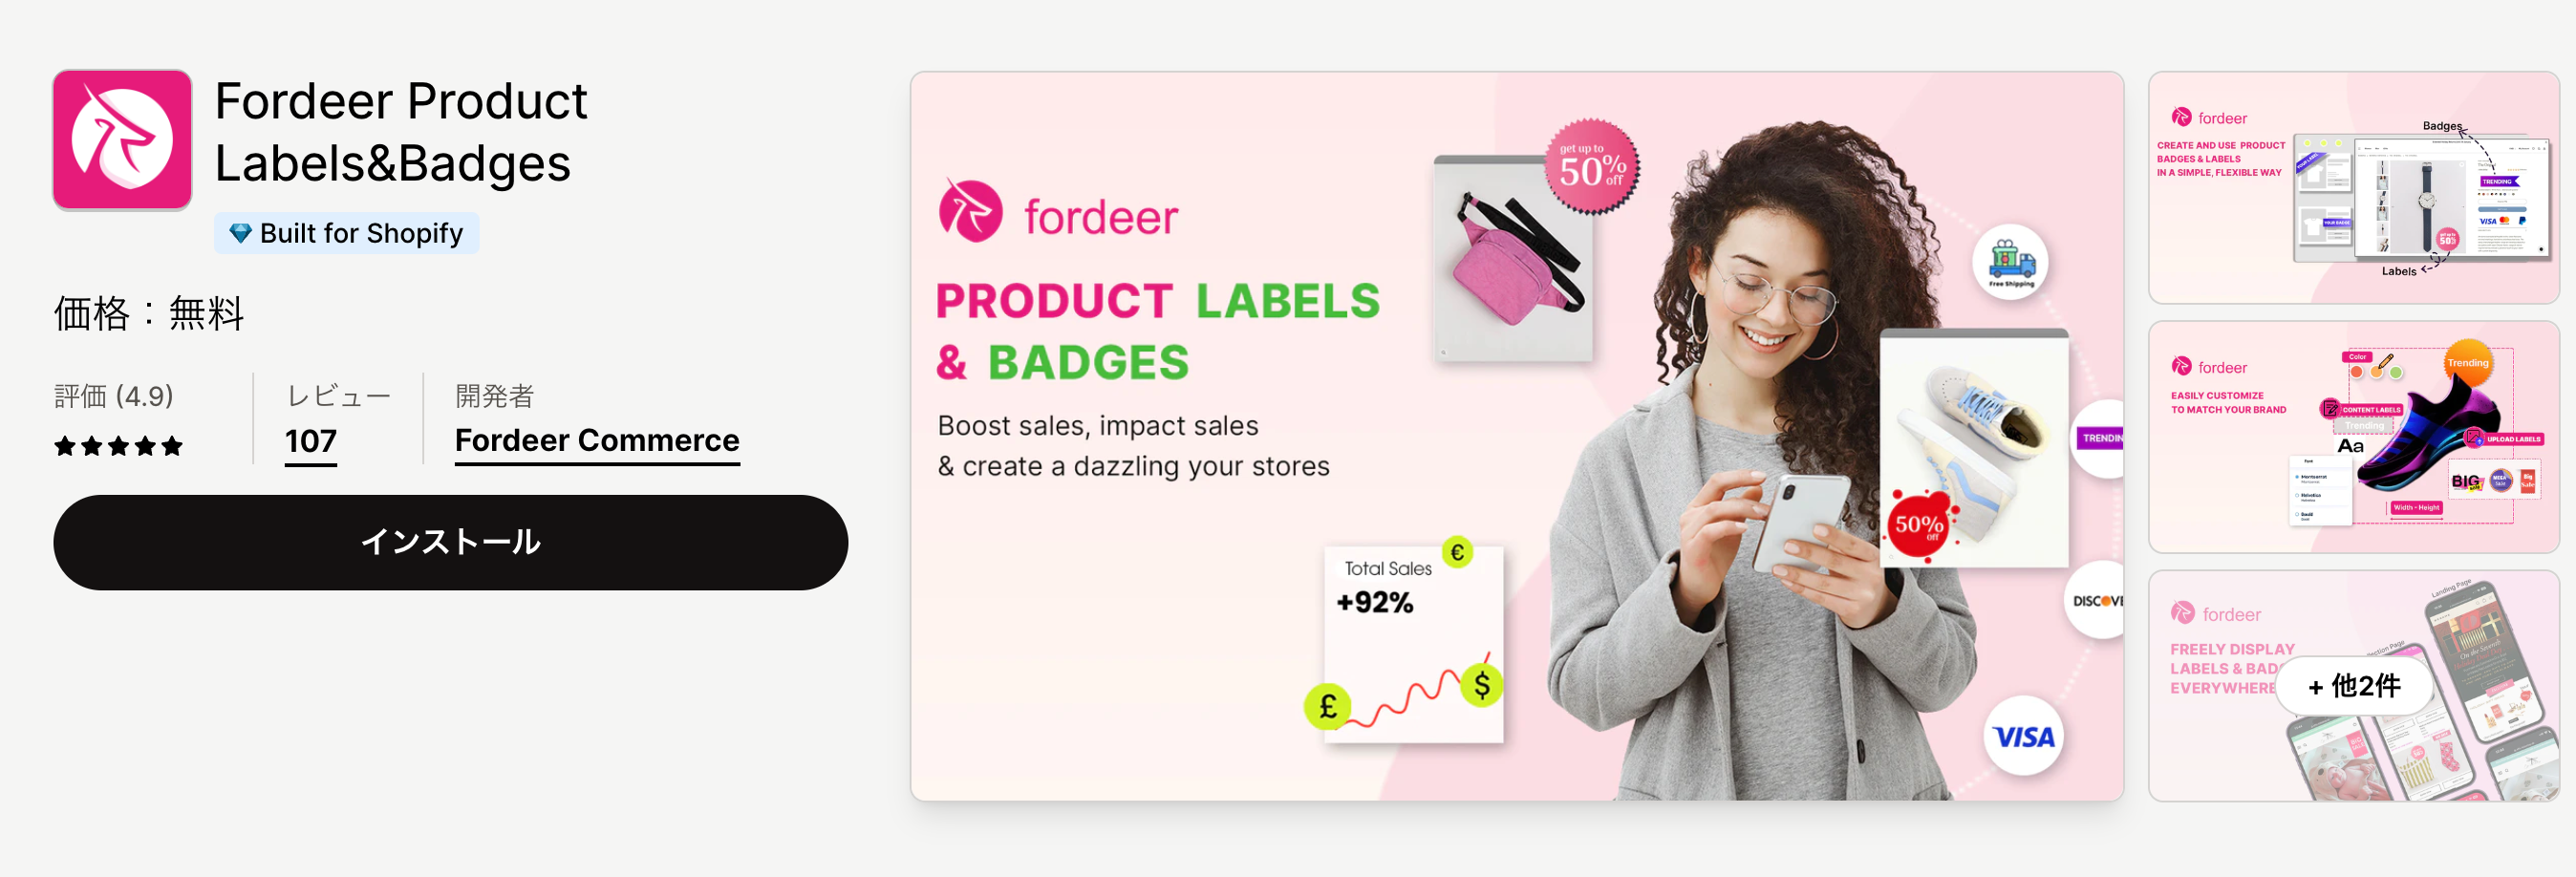
Fordeer -Product Badges & Labels
こちらのアプリのおすすめポイントはなんといっても、無料で利用できる点です。
スピード、使いやすさ、マーチャント(サイト運営者)のメリットに関して、Shopifyの最高品質基準を満たす「Build for Shopify」も獲得しているので非常に使いやすいアプリになっています。
Fordeer -What you can do with Product Badges & Labels
This app does not have any functions other than attaching the product label.
However, the function to attach badges and banners is also planned to be installed in the future, so please pay attention to the update information!

How to create label
Click the "Label" → "Create" button on the app management screen to display the customization screen of the label.


From this screen
- Is the label displayed when the PC display/smartphone is displayed?
- Image label or text label
- In the case of image labels, upload images
- In the case of text label, label shape, color, font
- Label display position, size, movement
The settings are possible.
A large preview is displayed on the right side of the screen, so it can be set intuitively even for the first time.
Next, select the target product to be attached to this label.
It can be displayed by product tags and collections, so you can automatically add labels when new products are added.

最後に、TOPページ、コレクションページ、商品ページにラベルを表示するかを選択します。

全ての設定が完了したら右上の「Create」ボタンをクリックして作成完了になります。
Check out these articles too!
いかがでしたでしょうか。
コーディングの知識など特別な技術が必要なく、無料で利用できるアプリなのでぜひ一度インストールしてお試しください!
GO RIDEではアプリ導入のサポートのみのご相談も承っておりますので、お気軽にご相談ください!


Popular articles

![[New App Block Available] GO SUB | Subscription Update](http://goriderep.com/cdn/shop/articles/new-app-widget-styles-added.jpg?v=1785147096&width=600)
![[Delivery Date-Based Order Creation and Skip Restrictions] GO SUB | Subscription Update](http://goriderep.com/cdn/shop/articles/skip-limit-and-a-lot-more_47947124-cf95-422c-ac11-56e167470724.jpg?v=1783643998&width=600)


