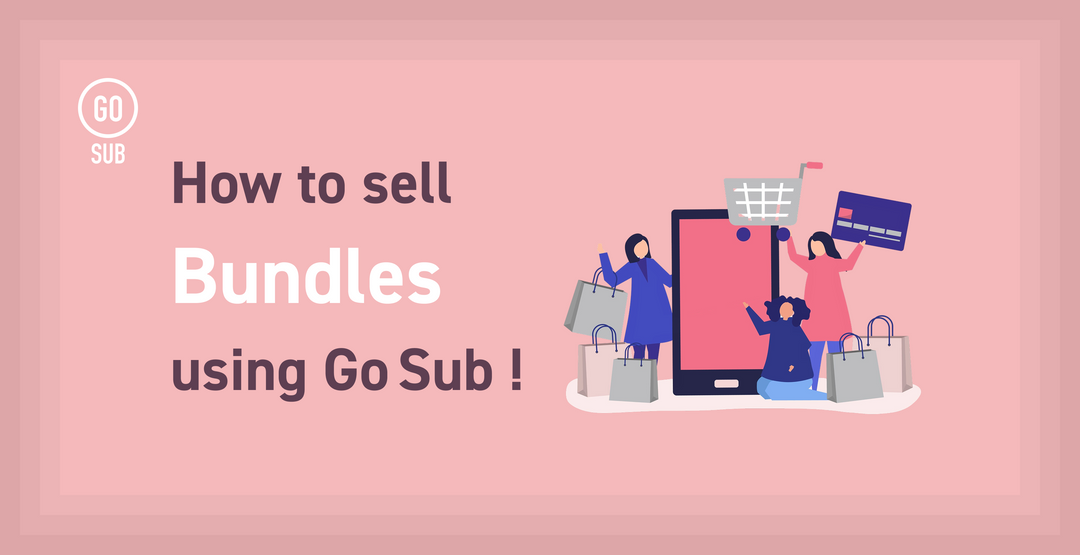
[Bundle Subscription] Save More with Bulk Purchases! How to Sell Go Sub’s Subscription Boxes as Bundles
Shopify's subscription app GoSub is provided by GO RIDE!
As competition in the e-commerce market intensifies, aren’t all merchants constantly searching for new strategies to boost sales? In this article, we’ll introduce an approach that combines “bulk buying” and “subscriptions.”
For this strategy, you only need Go Sub—no other paid apps are required.
By adding the subscription feature to the one-time sales boost of “bulk buying,” you can achieve ongoing sales growth!
Please refer to this article when setting up, and use it to help increase your store’s sales.
What is a Subscription Box?
A Subscription Box is a type of service that regularly delivers products to customers. Unlike typical subscriptions, which send the same product on a regular basis, a Subscription Box delivers a set of multiple products at regular intervals.
At Go Sub, by utilizing this Subscription Box feature, you can offer customers a new value called "bulk buying"!
Benefits of Bulk Buying × Subscription
1. Increase in Customer Lifetime Value (LTV)
By incorporating the "bulk buying" element into subscriptions, you can increase the purchase amount per transaction. For example, instead of offering one product for 5,000 yen, you can set a three-product set for 14,000 yen.
Furthermore, by offering this bulk buying as a subscription service, you can significantly boost ongoing customer lifetime value.
2. Decline in Cancellation Rate
By delivering multiple products as a set, customer satisfaction increases, leading to higher subscription retention rates. Providing the "joy of discovery" by exposing customers to a variety of products helps build long-term customer relationships.
Using the subscription box feature, customers can also change the items they wish to purchase in bulk for their next order directly from their account page.
3. Optimizing Inventory Management
Bulk subscription purchases enable planned procurement and inventory management. This improves the accuracy of demand forecasting and helps reduce the risks of overstocking or stockouts.
Key Points for Successful Bulk Subscription Implementation
1. Clarifying Value
Clearly present the discount rates and special offers available for bulk purchases, making the value visible to customers. Using specific figures, such as "20% off the regular price," is especially effective.
2. Flexible Customization Options
Let's offer customizable options for the contents of the BOX to match each customer's preferences and needs. Allowing customers to arrange it to their liking will increase their motivation to purchase.
3. Combining surprise elements
We also recommend periodically adding limited edition or sample products to the subscription BOX. By updating your Shopify settings so that these items can only be purchased through the BOX, you can promote the campaign: “Buy in bulk and get exclusive items only available with the BOX.”
From the next section, we'll introduce specific settings using the Go Sub subscription BOX feature!
Step 1. Basic settings for bulk purchases in the subscription plan group

In this step, you will configure the basic bulk purchase settings in the Go Sub subscription plan group settings.
Plan group settings
The plan group name will be displayed to your customers. Please choose a name that is easy to understand.
The three checkboxes below are not used in this setup, so it's fine to leave them unchecked. (Even if they are ON, it will not affect the current settings.)
Products included in the plan group

Plan details (cycle, discount, etc.)
The plan name will be displayed to your customers. For things like cycles, please make it a clear and easy-to-understand title.
The description will also be shown to your customers. While input is optional this time, we recommend including explanations such as discount rates or minimum purchase quantities.
Set up the subscription cycle.
Finally, set the discount. You can set this as a bundle without a discount, but we recommend offering a special deal for bundles to make them more appealing to customers.
This time, we've set a 10% discount for each order.


Since this sample contains only the minimum required content, please also set the order quantity discount and minimum purchase quantity (subscription restrictions), as needed.
Step 2. Create a Subscription BOX

Basic BOX (bundle) settings
The BOX name will be displayed prominently on the page. Be sure to choose an eye-catching title!
We recommend writing a detailed description for the BOX. You can also use CSS to change text color, or save images to Shopify's content and insert them with an img tag.
Try writing a clear and appealing description for your customers.
(You can use either inline CSS or the style tag.)
BOX subscription plan group
Select the plan group you created in Step 1 here.

BOX configuration and pricing
Select how you want to set the price. In this article, we’ll set it up as a bundle made up only of child products, without any parent products, so check “Configure with only BOX products.”
Be sure to set the minimum quantity to at least 2. If this is set to 1 or less, it won’t be considered a bundle purchase and may result in a discount for a single item.

BOX product
You can set the minimum and maximum quantity for each product.
For example, if you want to require that “this product must always be included in the bundle purchase,” set the minimum quantity for that product to “1.”

That’s all for the settings!
Let’s see how it will be displayed on the storefront.
How to check on the storefront
Once you save the BOX, a BOX page link will appear at the top of the screen.
When you click "Open link in a new window," the settings you configured will be displayed on a separate page.

You can check the contents and adjust explanations or titles later as needed.
If you have CSS knowledge, you can create an original page by adding your own styles, so definitely give it a try!

If you want to make the original BOX screen but don't have anyone who can customize it... In that case, please consult with GO RIDE! We will provide you with a quote tailored to your desired custom content!
Step 3: Set the button for the BOX page

This is the final step!
Let's set the link to the created BOX page on the store front!
You can freely choose where and how to set it up, but in this example, we'll use the image section with text in the Dawn theme on the product page in Shopify.
Set up a section in Theme Customizer
This time, as a sample, we have configured the settings as follows.
We’ve placed an image section with text, set up the image, added a heading, some simple explanatory text, and finally added a button.
Please set the button link to the BOX page you confirmed in the previous step.


The product page will display as follows.
Since this is just a sample product, the layout is very simple, but feel free to try things like making the link to the subscription page a banner, or placing the settings in a more prominent location!

The BOX page link can also be used on your landing page (LP).
Of course, the generated BOX page link can also be accessed from external sites. You can add it to a standalone landing page or use it in Melmaga (email magazines) as well.
Please use it for various applications.
Summary
How was it? This time, we introduced how to set up the bulk purchase × subscription "Bundle Regular Delivery" feature!
With this feature, customers can freely choose products and even select cycles, offering many benefits, while merchants can secure regular sales of multiple products and greatly boost LTV—Bundle Regular Delivery is a big help!
We hope this will help everyone increase their E-commerce sales!
[About GoSub]
For more details about GoSub, click here.
We regularly update articles about new features and ways to use GoSub!







![[Time-saving x High efficiency] Create the](http://goriderep.com/cdn/shop/articles/notebooklm_b8a61076-7b0b-43a6-9ed9-c22df6a30022.jpg?v=1767760344&width=600)
![[2026 Update] What are DDU and DDP on Shopify? Explaining the differences in customs handling for cross-border e-commerce and how to set it up](http://goriderep.com/cdn/shop/articles/ddp.jpg?v=1767687833&width=600)


