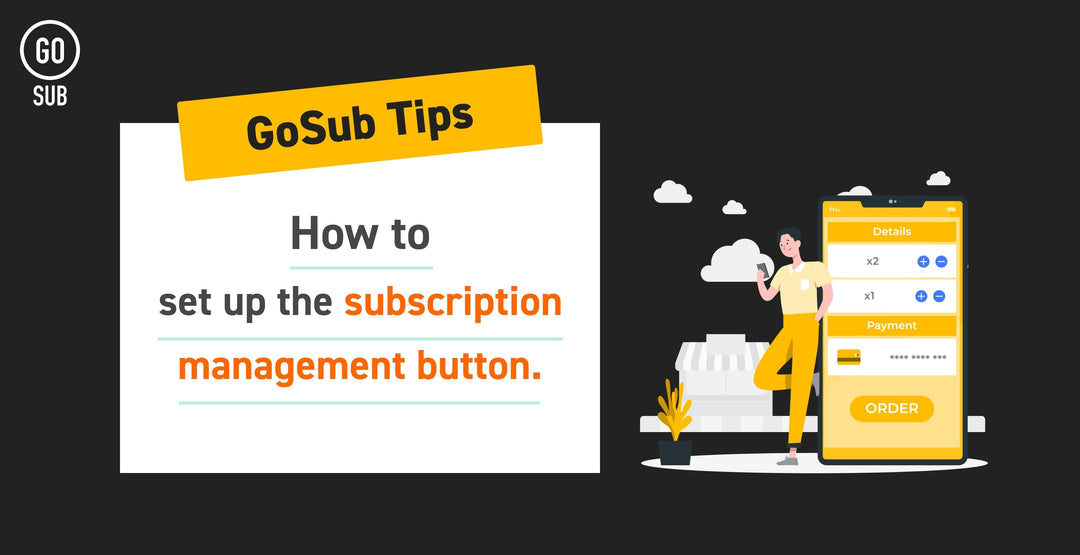
[GO SUBTips] Supporting new customer accounts! Explaining how to add a subscription management button to your order details page
GO RIDE offers the GoSub subscription app for Shopify!
In the January 2025 update, Go Sub now supports Shopify's "New Customer Accounts." This article explains how to dynamically display the subscription management button on the order details screen using the Go Sub button settings and the Checkout Blocks app.
We provide detailed instructions, so merchants using Go Sub, please be sure to check them out!
Wondering what GoSub is and what features it offers? Please request information from the button below.
Types of customer accounts
Shopify offers two types of customer accounts. Until now, Go Sub only supported 'Traditional Customer Accounts', but with the latest update, new customer accounts are also supported.
For the differences, please check the Shopify help page regarding customer accounts.
https://help.shopify.com/ja/manual/customers/customer-accounts
Types of customer accounts Change method
In Shopify settings > customer accounts, select 'Customer Account'.
From December 2024, the name will change from 'New Customer Account' to 'Customer Account'. For clarity in this article, we will use the term 'New Customer Account'.

How to set the Go Sub button to the order list

App block settings
Insert the Go Sub Block into the order page from the customizer.
Select 'Order' in the upper page selection area.

Adding a Go Sub Block from the page header app block and saving.

In the preview, buttons, etc., are not displayed like this, but rest assured.
Please actually log in to your account from the store and check the display.

Button text settings
Buttons are displayed like this on the order list page. The text 'Subscription Management' can be changed from the Go Sub settings.

Open the Go Sub management screen > Settings > Translation, Text Change.

Scroll down a bit and you can make changes on the 'New Customer Account Page Button' on the customer account page.

How to set up a Go Sub block on the order status page
App block settings

Adding a Go Sub Block from the page header app block and saving.
As with the insertion into the list page, you cannot confirm the display on the preview screen.

Display text settings

Go to the Go Sub management screen > Settings > Translation, Text Change, and enter the language in the appropriate section.

【Note】Displayed for all orders with a Selling Plan set
If a Go Sub block is added to the order status page, it will be displayed when there is an order with a Selling Plan set.
If you are using a Selling Plan with other apps, such as a pre-order app, blocks will also be displayed even if it's not a Go Sub subscription.
Therefore,Please be cautious and avoid phrases like "This order is a subscription order."
Example phrases
If this order is a subscription order, please do not press the "Reorder" button. (Subscription renewal will not occur) For managing subscription cancellations, skips, product changes, etc., please proceed to the management screen from the "Subscription Management" button below.

Using the Checkout Blocks app is OK.
Using external app Checkout Blocks allows you to change the section style, etc.
This is an app officially provided by Shopify, and it can be used for free with any Shopify plan, so be sure to download it.
Customizing the checkout screen requires a Shopify Plus plan, but the order confirmation screen and account screen are available regardless of the plan.
Installing the Checkout Blocks app
Create a setup block.
From the Blocks page, select Create block.
Please note that the display will differ if a block has already been created for the first installation.

For the type, select Dynamic content.

The default block for Go Sub is structured almost the same as the Banner example. In this article, we will also use the Banner example, but various customizations are possible, so feel free to try different things!

The Block name is for management purposes and will not be displayed on the customer screen, so please set a name that is easy to manage later.
Then, click Edit from the Banner in Content Items to set the display details.
Content of the Banner
Title... The title displayed on the block.
Content... The content displayed on the block. Please include the content you wish to convey to the customer.
-
Banner status... In this sample, a Critical banner is set.
Info banner... Background gray
Warning banner... Background yellow
Critical banner... Background red
Success banner...Background Green
Plain banner...Background Gray (Similar to Info banner)
Button label...Text displayed on the button
-
Button URL...Specify the URL for the Go Sub management screen.
https://xxxxxxxxxx/apps/gosubscride/subscriptions
Specify the store URL in place of "xxxxxxxxxx".

Display rule settings
With the current settings, a block created for all orders will be displayed. Therefore, set the display rule.
From Add display rule, select Line item has selling plan within the Product section.
Be careful when setting as other apps like pre-order apps might use the Selling plan.

App block ID settings
If the block being created is the first one, it is okay to leave it at the default value of 0.
If you want to set blocks with different display rules in the same location, assign a common ID to each block. Details will be explained in a future article.

Once completed, please save the block.
Finally, don't forget to change the block status from Draft to Active!
Set the block created on the order status page
Navigate to Shopify Settings > Checkout > Checkout Customizer.
Select order status from the page selection list on the screen.

From Add app block in the page header, select Dynamic content of Checkout Blocks.

Specify the ID of the app block.
As shown on the screen below, it will not be displayed in the preview, but please rest assured.

Check the display from the customer account.
Finally, log in to the customer account, check the order details, and ensure the block is correctly reflected.
Please note that it is set to be displayed only in the case of subscription orders, so it will not be displayed if not applicable.

Summary
Did you find this useful? In this article, we explained how to display notes related to Go Sub blocks and subscriptions for Shopify's new customer accounts.
Go Sub will continue to update frequently, so please make sure to check the update information!
[About GoSub]
Click here for more details about GoSub
Click here for the GoSub help page
Our company updates articles daily about new features and uses of GoSub!







![[Time-saving x High efficiency] Create the](http://goriderep.com/cdn/shop/articles/notebooklm_b8a61076-7b0b-43a6-9ed9-c22df6a30022.jpg?v=1767760344&width=600)
![[2026 Update] What are DDU and DDP on Shopify? Explaining the differences in customs handling for cross-border e-commerce and how to set it up](http://goriderep.com/cdn/shop/articles/ddp.jpg?v=1767687833&width=600)


