
[GO RIDE engineer explains! ] How to make SHOPIFY self -made sections using LIQUID
What is the SHOPIFY section?
The SHOPIFY section is a Liquid file that adds or extends functions to the theme.
For example, you can add images, add texts, embed YouTube, and add any sections.
Display the default Shopify section
By default, most themes have sections that allow you to display images, text, product blocks, etc.
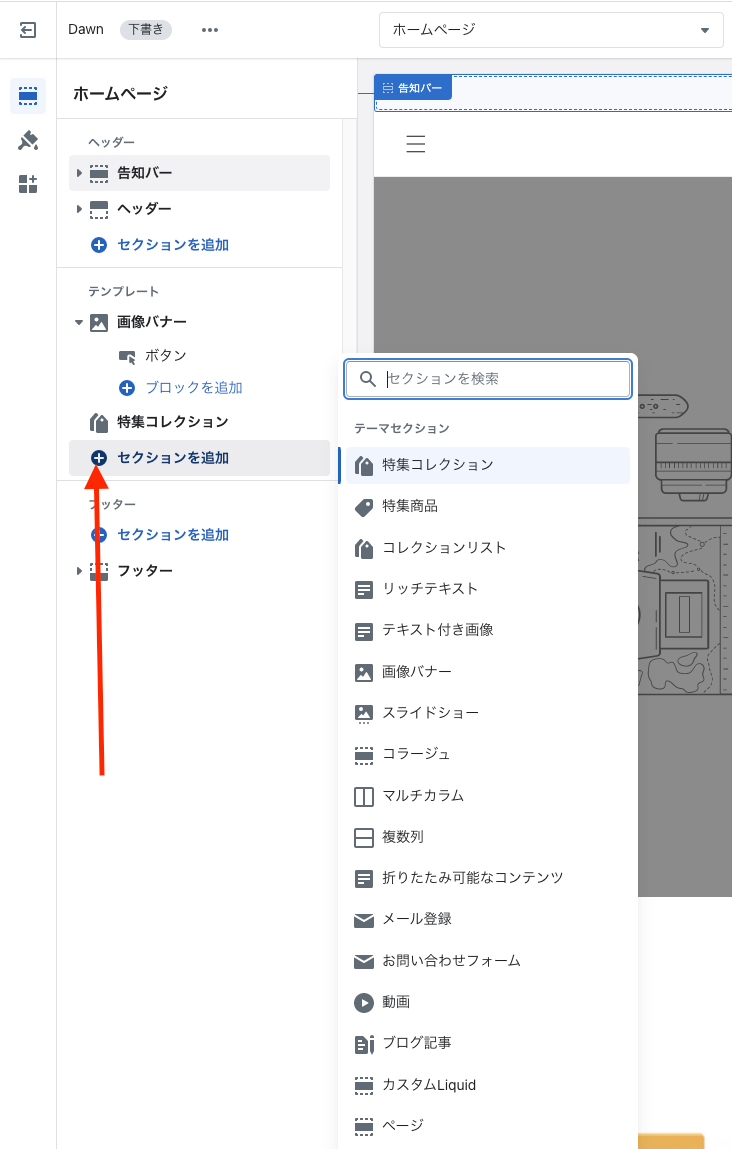
To confirm the section you already have, go to the SHOPIFY administrator's online strick and click "Customize" on the theme.

From there, click "Add Section" to display a list of available sections.
Depending on the theme, I matched what I want to displayYou may not be able to find a section.
In that case, you can create a section yourself.
Create an original section
By creating an original section, you can create various sections. First, let's create a simple section that displays images along with the title.
And this time, I will set up an option to make the image circular.
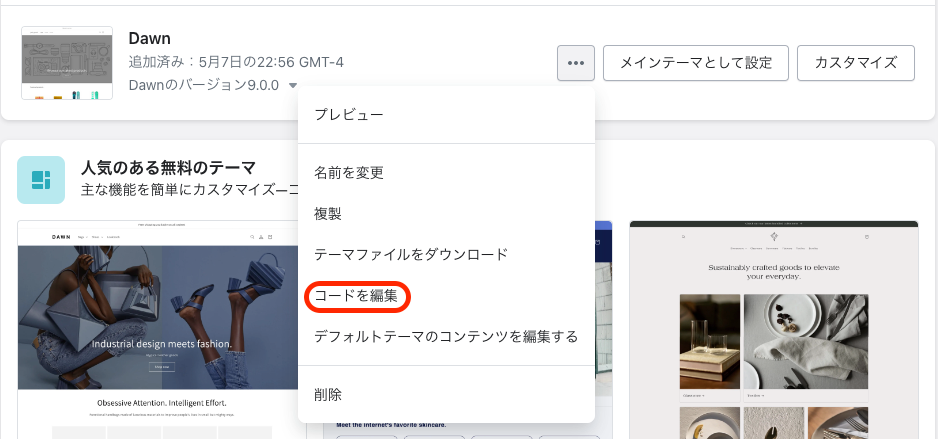
First, return to the online store, click the three points next to "Customize" and select "Edit Code".
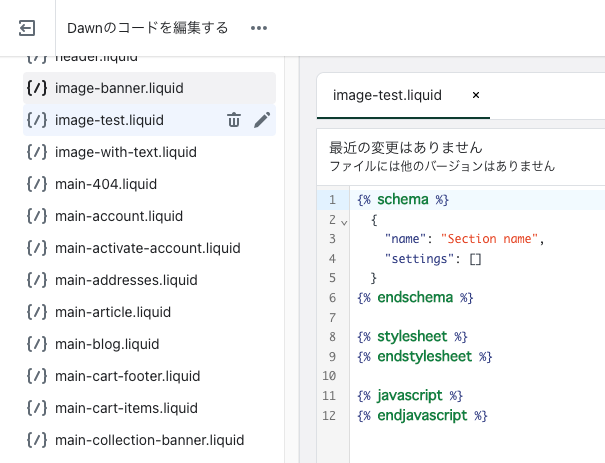
Next, scroll to the left section folder and click "Add a new section". You can give your favorite name to the file, but this time the file name is image-test.lique.
with this,{%schema %} tag,{% stylesheet %} tag,{% javascript %} A file with a tag should be created.
These tags have different purposes.
- {%schema %} Tags define the setting of the section and the customized field
- {% stylesheet %} Set CSS styling for tags
- {% javascript %} Set JavaScript for tags
Next, copy the following code and paste it.
With the settings, there are two types in Schema. There is a simple text type and an Image_picker type (section to select an image).
Above is HTML and LIQUID that displays each section type. This is done by the section ID.
For example, if the text type has' ID: TEXT_HEADING '', use html and liquid. {{ section.settings.text_heading }} You can display this by calling.
 <div class="image-test">{{ section.settings.text }}
<img src="{{ section.settings.image_box | img_url: 'master' }}" width="380px" height="380px">

{% schema %}
{
 "Name": "Image test",
 "Settings": [
  {
    "Type": "Text",
    "ID": "text",
    "Label": "Text",
    "Default": "Text"
  },
  {
   "Type": "Image_picker",
   "ID": "Image",
   "Label": "Select an image"
  }
 ],

"Presets": [
  {
   "Name": "Image test",
   "Category": "Image"
  }
 ]
}
{% endschema %}

{% stylesheet %}
  .Image-test {
    Max-Width: 600px;
    Margin-Left: Auto;
    Margin-Right: Auto;
  }`
{% endstylesheet %}

{% javascript %}
{% endjavascript %}
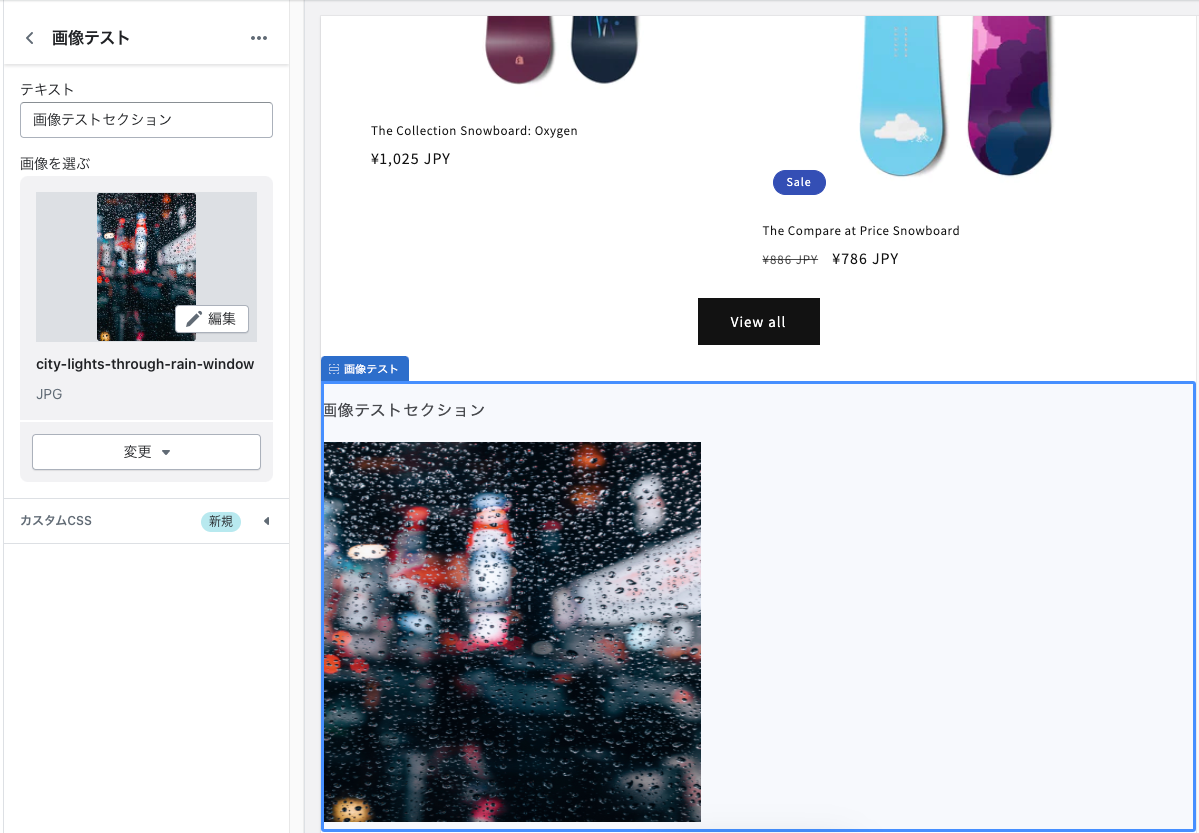
Return to the customizer and click "Add Section".
The section you have created should be displayed. If you copy the code, the default text will be displayed, but there is no image.
You can write what you like in the text field, use your own uploaded images or select from SHOPIFY.
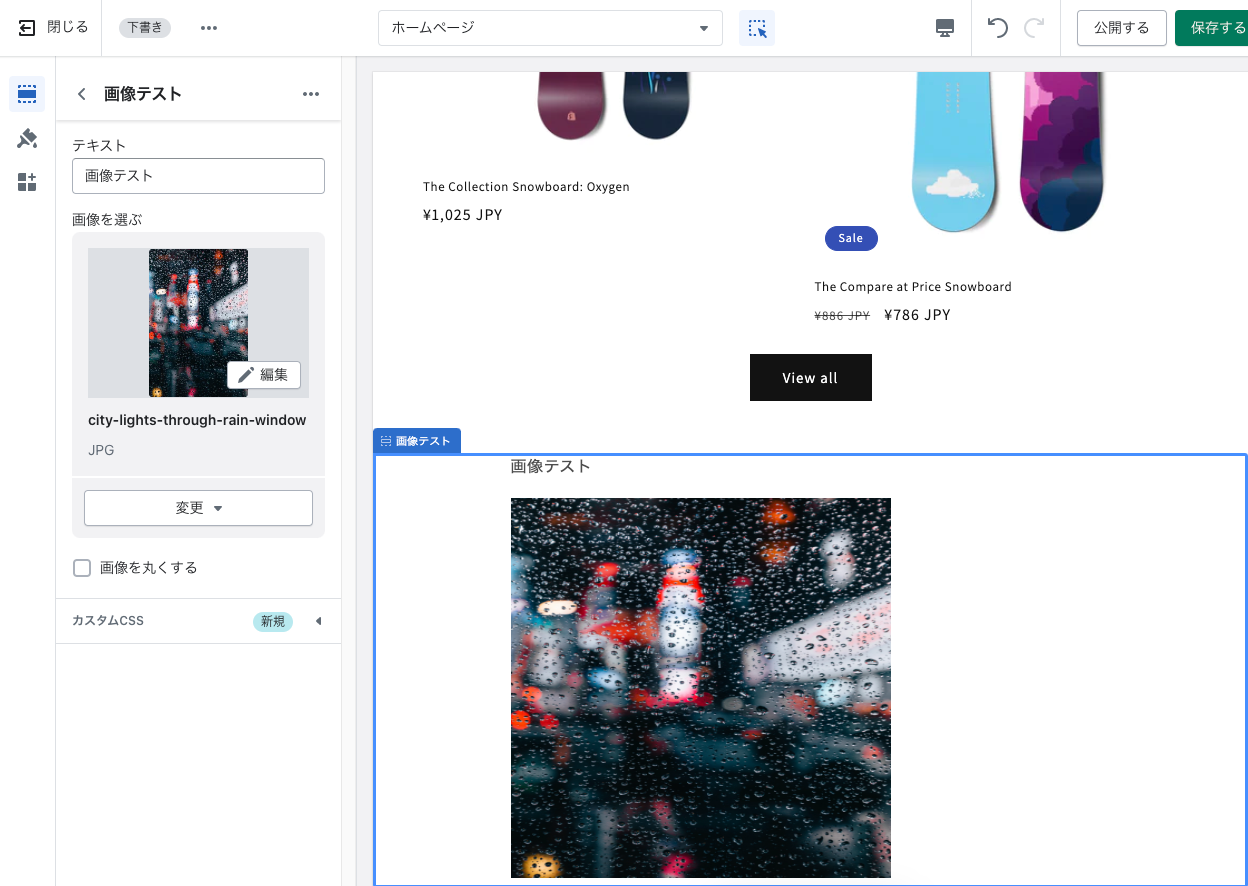
It should be displayed on the homepage. Next, add a check box to the section file and go one step further. If it is checked, this will make the photo a circular, not a square. Add the following code to the IMG tag.
<img {% if section.settings.round_image == true %} class="round" {% endif %} src="{{ section.settings.image_box | img_url: 'master' }}" width="380px" height="380px">
next, {%schema %} With the tag {%stylesheet %} Add the following to the tag.
{% schema %}
{
 "name": "画像テスト",
 "settings": [
  {
    "type": "text",
    "id": "text",
    "label": "テキスト",
    "default": "テキスト"
  },
  {
   "type": "image_picker",
   "id": "image",
   "label": "画像を選ぶ"
  },
  {
    "type": "checkbox",
    "id": "round_image",
    "label": "画像を丸くする",
    "default": false
  }
 ],

"presets": [
  {
   "name": "画像テスト",
   "category": "画像"
  }
 ]
}
{% endschema %}

{% stylesheet %}
  .image-test {
    max-width: 600px;
    margin-left: auto;
    margin-right: auto;
  }
  .round {
    border-radius: 50%;
  }
{% endstylesheet %}
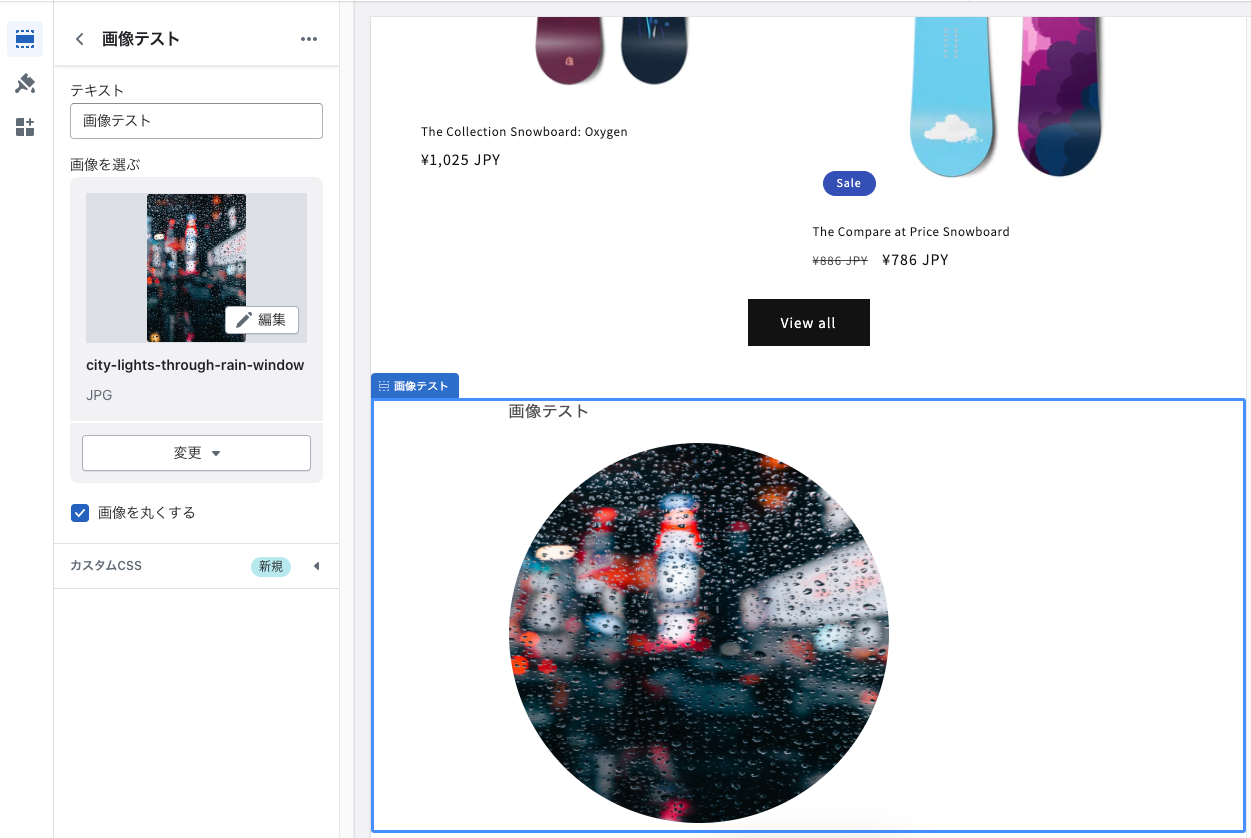
If you put the above code, you will think that the check box will be displayed with the customizer.
If you click the check box with the customizer, you should be able to confirm that the image becomes circular.
The self -made section introduced this time is a very simple example, but you can create various types of sections.
Please, try it!
However, it is recommended that you do not test on the public theme if the shop is in operation.
Go Ride can provide various theme customizations.
Please feel free to contact us for not being able to respond to existing sections!


![[Part 1] What is SHOPIFY's metallic? Explanation with procedure up to how to implement it with no code](http://goriderep.com/cdn/shop/articles/metaobject-how-to_50f6f959-d8af-4090-a5d3-06c9d17c93d4_400x.png?v=1722825848)


